When you want to create a mod for Minecraft you have to decide one very important thing. Which mod loader should I use? While this seems like a simple question, the truth is that there are many different modloaders and every single one of them has a different API you need to learn. But there is a solution to this question: Use a framework that handles modloader support for you. Using a framework allows you to focus on your mod. One such framework is Architectury API that allows you to write your code once and have it work with multiple different loaders, including the two most popular ones Fabric and NeoForge. This series aims to show you how to create your own multiloader mod using Architectury. Every topic is available both as an article on this website and as a video tutorial on YouTube.
Chapter 1: Architectury – The Basics
The first few entries aim at showing you the basics. This will help you to understand core concepts of both modding in general but also some Architectury specific concepts.
Part 1: Introduction and Setup
The first part covers setting up the project and understanding its structure. Additionally it shows how to configure the mod details and add ParchmentMC mappings for easier development. After this part you are ready to start adding your own content to the game. (Video)
Part 2: Basic Items
The second part covers adding a simple and basic item to the game. After this part you know the basics of the games registry mechanics like Deferred Registers. You will also learn what additional resource you need so that your item appears with name, model and texture in Minecraft. (Video)
Part 3: Basic Blocks
The third part covers adding simple blocks to Minecraft. You learn the differences between items and blocks. This part also introduces the asset structure regarding blocks and a very basic introduction to blockstates. (Video)
Part 4: Creative Tabs
In part 4 you can learn how to add a custom Creative Mode Tab for your mod. With that you can organize you mods items and blocks in one place. (Video)
Part 5: Recipes
Part 5 shows you how you can use your Blocks and Items for shaped and shapeless crafting. Furthermore I show you how to add recipes for Furnaces and Blast Furnaces and where to find information on all the other recipe types. (Video)
Part 6: Block Drops and Tags
In part 6 you learn how to make your block drop items when broken. Additionally I show you how to use tags to specify tool types and levels for your blocks and set the break resistance. (Video)
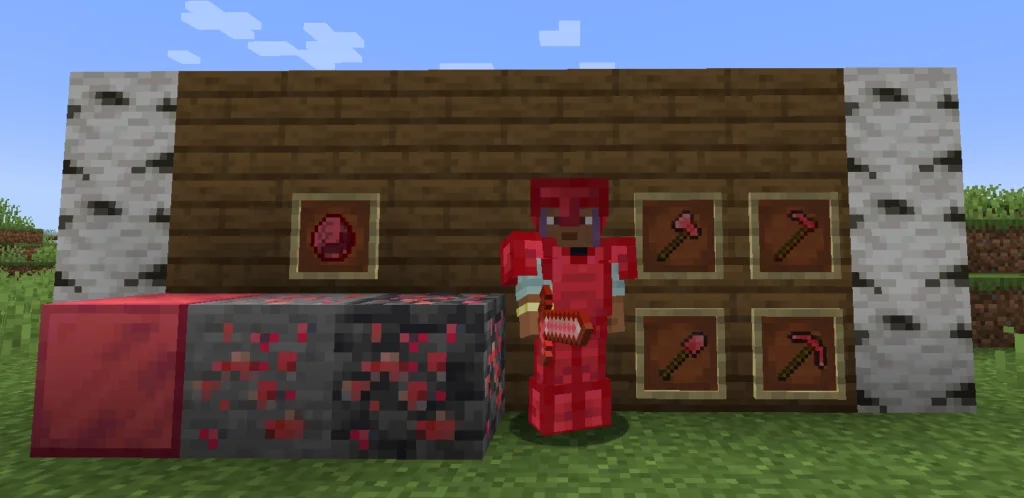
Part 7: Tools and Swords
Part 7 shows you how you can create tools like pickaxes as well as swords from your own material. You learn how to create tool materials and tag items so that they can repair said tools. (Video)
Part 8: Armor
The last part covering the fundamentals shows you how you can add your own custom armor to the game. You learn how to create armor materials and what the differences to regular items are. (Video)
Chapter 2: Advanced Blocks
Part 9: Directional Blocks
In the first part on advanced blocks I show you how to add directional blocks to the game. Such blocks have different textures on their sides and face the player. I also show the basics regarding blockstates. (Video)
Part 10: Block Entity Basics
In part 10 I explain you the basics regarding block entities. I explain why we need to do stuff in the modloader specific modules and how to add a ticker for your block entity. (Video)
Part 11: Storage Inventories
Part 11 covers the transformation of a simple block entity into a container block that can store items. You learn how to setup such an entity and how to handle the item related actions so that your block works like a chest. (Video)
Part 12: Basic Furnace Blocks
In part 12 you can learn how to transform a block into a basic furnace. The furnace will work exactly like a regular vanilla furnace smelting the same recipes. You learn how to setup a Block and its related BlockEntity to work like this. (Video)
Part 13: Custom Smelting Recipe Type
Part 13 shows you how to create a custom Recipe Type for your furnace block. You learn how to register types and serializers and how to add recipes to your custom type, so that your furnace block can process them. (Video)
Part 14: Block World Generation
In part 14 I show you how to generate blocks during the world generation, for example ores. You learn what configured and placed features are and how to add them to the world generation process. (Video)
Part 15: Custom Menus and Screens
In part 15 I explain you the differences between menus and screens and show you how to add a custom menu for your block with specific functionality. I also show you how to add a screen for rendering this menu and how you can access data from your block on the client side using ContainerData. (Video)