Since you now know how to add an item, this time we will add a block. We will again only be using Architectury to achieve this. Some parts are similar to adding an item, but there are some additional steps we need to take. Adding a block consists of the following steps:
- Registering the Block to the game. We tell the game the properties of the block when placed in the world.
- Registering an Item for the Block. This step is only required if you want your block to appear in inventories as well.
- Naming the Block. This is similar to adding an item.
- Defining the Blockstates. With this we tell the game different variants of our block and where to look for model information.
- Block model and texture. We tell the game how the block should look in the game.
- Defining the blockitems data. Again only required to have the block also appear as an item in game.
Additional Resources
The Tutorial Mod used here can be found on GitHub (state after this tutorial).
A video version can be found below.
Contents
- Registering the Block
- Registering the BlockItem
- Naming the Block
- Blockstates
- Models, Textures and Item
- Our Block in the game
- Video
Registering the Block
Similar to adding an item to Minecraft, we first need to register our new block. For this we are going to use the Deferred Registers of Architectury. An explanation of those can be found in the guide on basic items.
Deferred Register and Helper Methods
The first thing we need is the Deferred Register for our mod blocks. It is created as follows:
private static final DeferredRegister<Block> BLOCKS = DeferredRegister.create("tutorial_mod", Registries.BLOCK);Additionally we are also again creating two helper methods to make registring blocks easier:
//Register a block
public static RegistrySupplier<Block> registerBlock(String name, Supplier<Block> block){
    return BLOCKS.register(ResourceLocation.fromNamespaceAndPath("tutorial_mod", name), block);
}

//Construct a block property base
public static BlockBehaviour.Properties baseProperties(String name){
    return BlockBehaviour.Properties.of().setId(
            ResourceKey.create(Registries.BLOCK, ResourceLocation.fromNamespaceAndPath("tutorial_mod", name))
    );
}
The registerBlock() method is our wrapper around the long register call for the Deferred register. It removes the need to write the creation for our ResourceLocation every single time.
The baseProperties() method creates default block properties with the correct BlockID for the block we are adding. This again saves us from writing the code to create a ResourceKey every single time. As for the item, both of these methods are optional, you can also write the code for each block again, though I don’t recommend this for readability reasons.
Registering the Block
Next we can register the block itself using a Registry Supplier, again similar to the item. Using the helper methods we need the following code to register our block:
public static RegistrySupplier<Block> RUBY_BLOCK;

public static void init(){
    RUBY_BLOCK = registerBlock("ruby_block", () -> new Block(baseProperties("ruby_block")));

    //Write to the game registries
    BLOCKS.register();
}
The key difference to the item is the lack of adding to a creative tab. This will be done with BlockItem in the next step. Overall the code required to add a block to the game looks like this:
private static final DeferredRegister<Block> BLOCKS = DeferredRegister.create("tutorial_mod", Registries.BLOCK);

public static RegistrySupplier<Block> RUBY_BLOCK;

public static void init(){
    RUBY_BLOCK = registerBlock("ruby_block", () -> new Block(baseProperties("ruby_block")));

    //Write to the game registries
    BLOCKS.register();
}

//Register a block
public static RegistrySupplier<Block> registerBlock(String name, Supplier<Block> block){
    return BLOCKS.register(ResourceLocation.fromNamespaceAndPath("tutorial_mod", name), block);
}

//Construct a block property base
public static BlockBehaviour.Properties baseProperties(String name){
    return BlockBehaviour.Properties.of().setId(
            ResourceKey.create(Registries.BLOCK, ResourceLocation.fromNamespaceAndPath("tutorial_mod", name))
    );
}
Registering the BlockItem
Just adding a block is enough to have the block in the world. But if you want to carry your block around in your inventory, you’ll also need an item for it. For this we are now going to add a BlockItem for our block. Important to note is, that we need to finish registering the block (i.e. call BLOCKS.register(); before adding the BlockItem to ensure a correct load order. To add your BlockItem, you have to add two lines at the point where your items are registered:
public static RegistrySupplier<Item> RUBY_BLOCK;

//The init() method where you register your items
public static void init(){
    RUBY_BLOCK = registerItem("ruby_block", () -> new BlockItem(RUBY_BLOCK.get(), baseProperties("ruby_block"));
}
We first need to define a Registry Supplier similar to any other item. The only difference in initializing this is that we don’t create a new Item() but a new BlockItem() instead. With this we tell the game that the item is related to a block. Furthermore we need to specify the block it should be related to. If you want you can modify the Properties generated by the baseProperties() method, for example add the item to a creative tab.
Naming the Block
Now we want to add a display name for our BlockItem. For this we head to the language file we created last time and add the following line to it, so that it appears as “Ruby Block” in Minecraft:
"item.tutorial_mod.ruby_block": "Ruby Block"Blockstates
Before we can add model and texture information to the block, we need to tell the game where those are located. We do this through a blockstates file. It describes which model to use for which combination of block data.
Take a Redstone Lamp as an example. It has essentially two blockstates: powered/on and unpowered/off. For each of those states a different model with a different texture is used, but technically it is still a single block.
Since our basic block does not have any blockstates, we use the default blockstate to point ot the model. We first need to create the file at the path assets/tutorial_mod/blockstates/ruby_block.json and add as content:
{
  "variants": {
    "": { "model": "tutorial_mod:block/ruby_block" }
  }
}
We tell the game with this that for the default variant (“”) the model is located under our ModID in the block group and that it is the ruby_block model.
Models, Textures and Item
After we’ve done the blockstate definition, we can add our model file at the path assets/tutorial_mod/models/block/ruby_block.json. In it we write the following content:
{
"parent": "block/cube_all",
"textures": {
"all": "tutorial_mod:block/ruby_block"
}
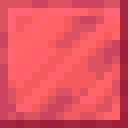
}We set the parent model to “block/cube_all”, which represents a typical Minecraft block like stone or dirt. Furthermore we define that all sides should display the texture ruby_block found in the block group of our mod. We need to place this texture at assets/tutorial_mod/textures/block/ruby_block.png:
After this we could go into the game and see our block with its tetxure in the world, but it still would not appear in the inventory correctly. For this we also need to add an item definition for our block at the path assets/tutorial_mod/items/ruby_block.json. In this file we write:
{
  "model": {
    "type": "minecraft:model",
    "model": "tutorial_mod:block/ruby_block"
  }
}
We tell Minecraft with this that it should use our block model to display our BlockItem in the game.
Our Block in the game
If we now launch the game, we can see our Ruby Block in the game, both as a block and as an item:
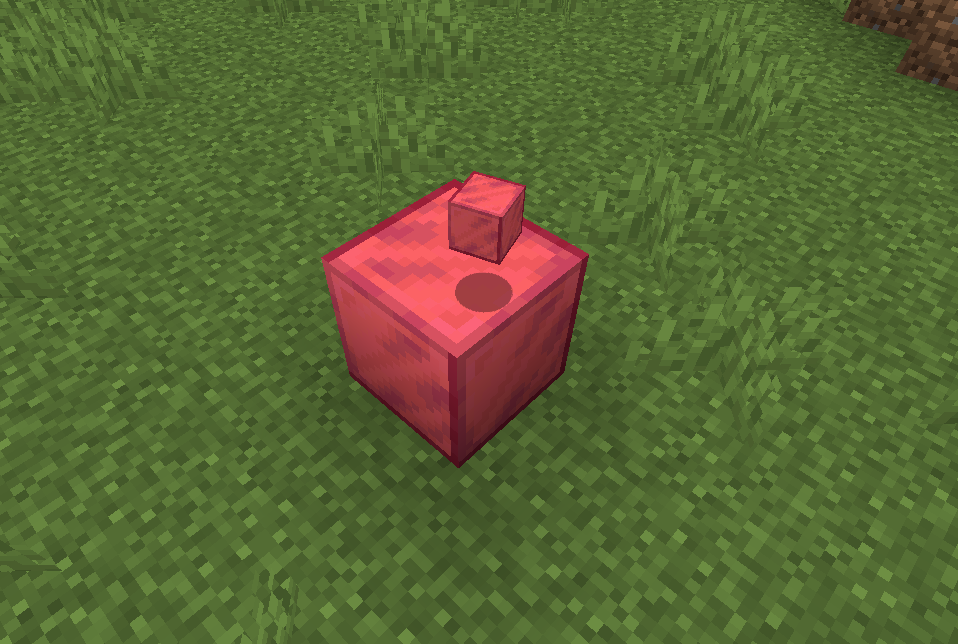
Now we have sucessfully added a simple and basic block to the game, next we’re going to add a creative mode tab to organize our mod blocks and items.
Video
Please accept YouTube cookies to play this video. By accepting you will be accessing content from YouTube, a service provided by an external third party.
If you accept this notice, your choice will be saved and the page will refresh.
Related Content
Check out the entire series here.
Pingback: Creative Tabs - Architectury API Multiplatform Modding - Larsen's Mods
Pingback: Recipes - Architectury API Multiplatfom Modding - Larsen's Mods
Pingback: Block Drops and Tags - Architectury API Multiplatform Modding - Larsen's Mods
Pingback: Directional Blocks - Architectury API Multiplatform Modding - Larsen's Mods